How to paint garden art rocks

By LESLIE A. PANFIL
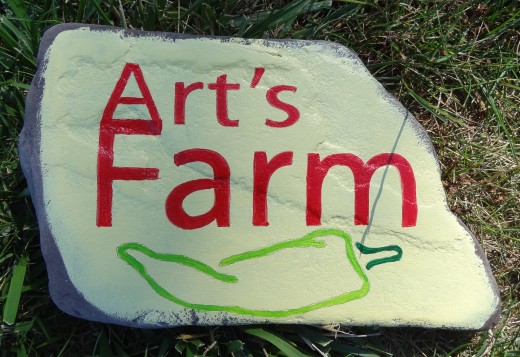
There is a myriad of garden decorations on the market but, if you are looking for something unique, there is nothing like creating your own. We live in an area heavily populated with deer so my husband chooses to grow vegetables in containers that can be moved into the garage at night. One day our neighbor said, “I knew you were gone when I didn’t see the farm out front.” Thus the idea for this hand painted stepping stone – Art’s Farm.
Where to find the rock and what to look for
I purchase my rocks at a company that caters to landscapers. They sell rocks in all shapes and sizes. The rocks I buy are sold by weight. You will want to find a rock with a smooth surface to paint on. An uneven surface will make tracing your template difficult and can cause image distortion.
Clean
Clean your rock with a rag and soapy water and allow to dry.
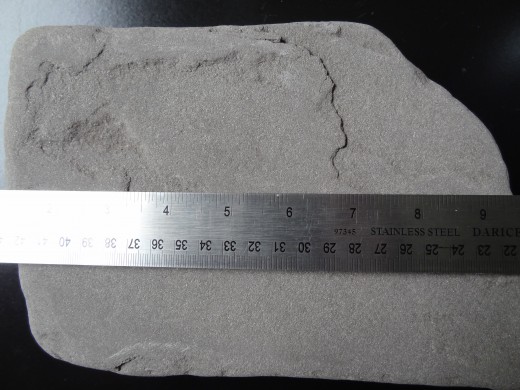
Measure
To save yourself time resizing your image over and over again, measure your rock. As you can see from my photo my rock was smaller at the top then the bottom. I needed to take these dimensions into consideration when I created my layout.
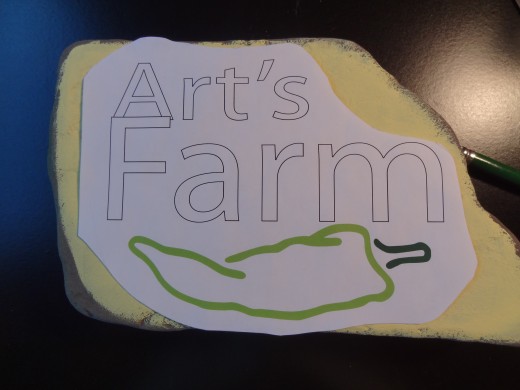
Create Graphics
I use Illustrator but you could easily create the simple graphics used in this project in Microsoft Word. Print out your image and trip to fit on your rock.
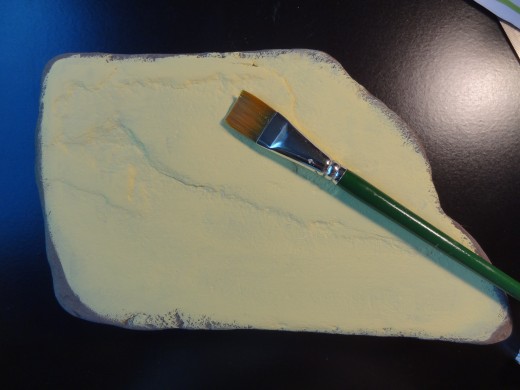
Prepare Surface with Base Coat
Time to paint! I use FolkArt acrylic paint by Plaid. I’m usually not that picky about brands but FolkArt paint has a lovely creamy texture and covers the porous surface of the rock really well. I used a ¾” flat paint brush to paint the entire top layer of the rock with a base color. This will save you from having to paint right up to your image. Tip: the darker your base-color the more challenging it will be to paint your image on. For good color saturation on dark colors you may have to apply several layers of paint. You can create a crisp line at the edge of the rock but I prefer a softer, painterly edge. Allow to dry completely. Acrylic paint is a fast drying medium. Drying time will depend upon the thickness of your base coat but on average should take about a half an hour.
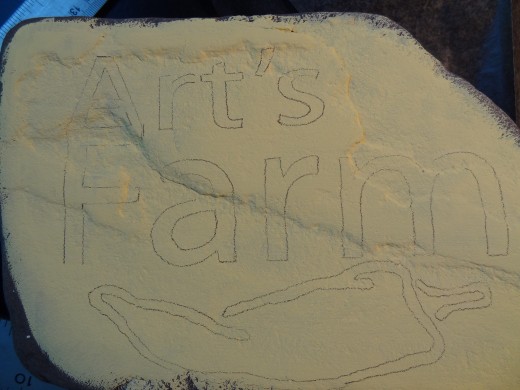
Tracing Image
Take a piece of tracing paper and tape it to the rock. Place your graphic design that you have printed out and trimmed to fit your rock on top of the tracing paper. Be sure both the tracing paper and your design are securely taped down to prevent any movement while you trace your design. Using a shape pencil, outline your original image. You may have to press firmly to ensure the transfer of your image. When you are done tracing the image, gently lift one side and check that your image transferred completely. If you did not get the entire image you can lay the tracing paper and image down again. It is always best to trace the image in a methodical way the first time around since it may be difficult to place the tracing paper and image back in its original position.
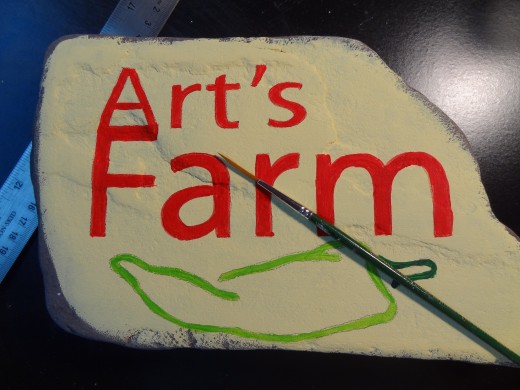
Painting your primary image
I use a liner brush (which is an ultra think brush) to outline my lettering. With fine script lettering, I continue to use the liner brush. If your letter is a larger, block-like type you may want to switch to a larger brush to fill in the type. If you used a light base coat you may only have to paint your image once. But, for darker colors or to saturate an area with color you may want to add several layers of paint. Some acrylic paint is thinner by nature and will require more coats of paint to cover.
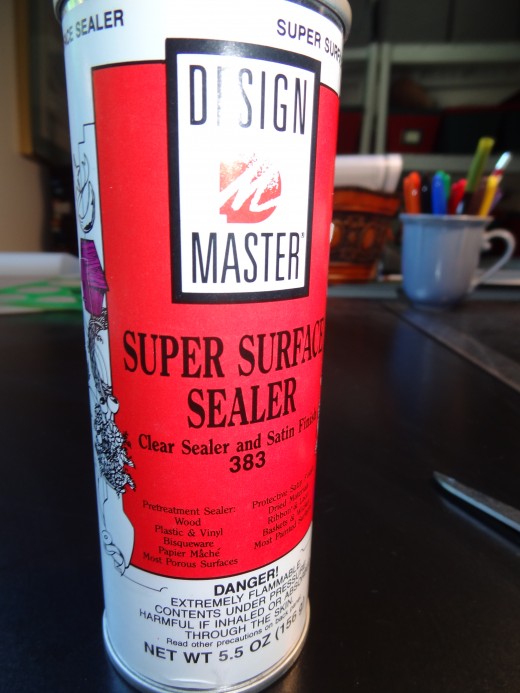
Sealer
Because your rock will be subjected to the elements, you will want to put a sealer coat on. Choose a product made for porous surfaces. Allow to dry completely before placing outside.
For more crafty ideas – check out my blog
- Crafty Leslie's Blog
Live! Love! CRAFT . . .